
After completing TryHackMe’s module on Network Security and Traffic Analysis, I wanted to delve more into how to install and configure Snort, and play around with it.
In this post, I will be covering how I set up my home lab, with the steps I took to download, install, and configure the machines. This setup is primarily for network security and traffic analysis.
Disclaimer: The home lab setup I provided here is solely intended for educational and testing purposes. Any unauthorized use or engagement in illegal activities is strictly prohibited. Everyone is encouraged to utilize this setup responsibly and in compliance with all applicable laws and regulations. The purpose of this home lab is for learning, experimentation, and skill development in a safe and controlled environment. Any misuse or improper activities are entirely at the user’s risk. If you want to use this home lab, you agree and acknowledge the importance of ethical and lawful practices.
Home lab Network Design
The setup is pretty basic with the sole purpose of Snort being able to capture network traffic. I’ll be using VMware Workstation Pro as my hypervisor.
Three machines are in this lab, a vulnerable target machine (Metasploitable2), Ubuntu server installed with Snort, and an attacker machine (kali). Ideally, the attacker machine should be in an separate network, but in this setup, it is placed in the same network with the rest of machines.

Downloading & Installing VMware Workstation Pro
I’ll be using the free trial version, which has full functionality for 30 days. I have VirtualBox in my machine and this setup will work just fine, with just minor adjustments.
Download VMware Worksation Pro
The installation is very straight-forward.
- Once the installation file has been downloaded, execute the file to start the installation.

- Select the directory where VMware will be installed. Add the console tools into system PATH.

- Accept the terms in the License Agreement

- Select shortcut/s for WMware

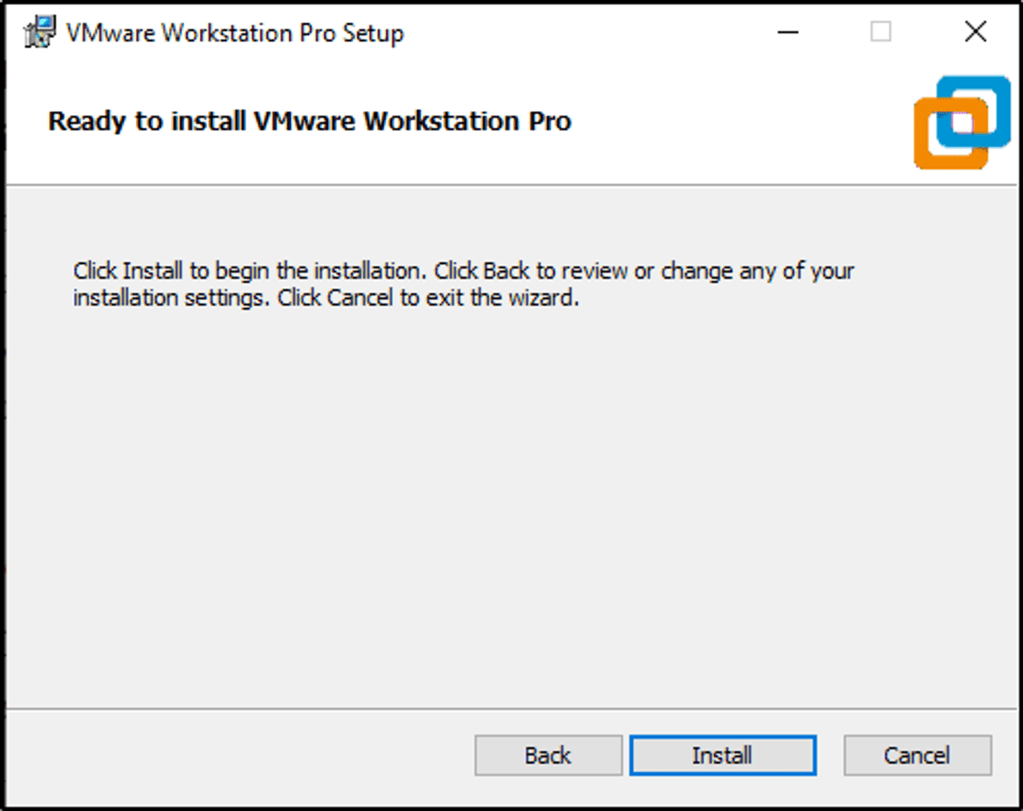
- Click “Install” to start installing

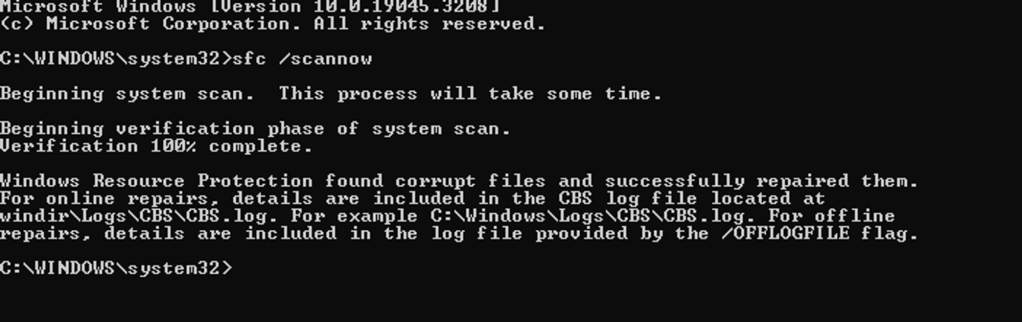
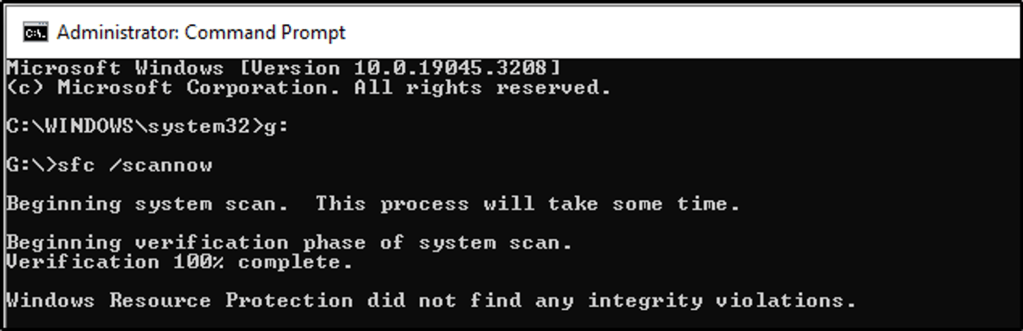
- I got an error, where a dll library is missing. I opened command prompt as Administrator to start a scan and repair missing or corrupted files. I run the command in “C:\” directory, and “G:\” directory, where I installed VMware, but it did not resolve the issue.
- More info about the missing dll.
- In Windows,
sfc /scannowis a command used to run the System File Checker (SFC) utility. The SFC utility is a built-in Windows tool that scans and repair corrupted or missing system files.
sfc /scannow
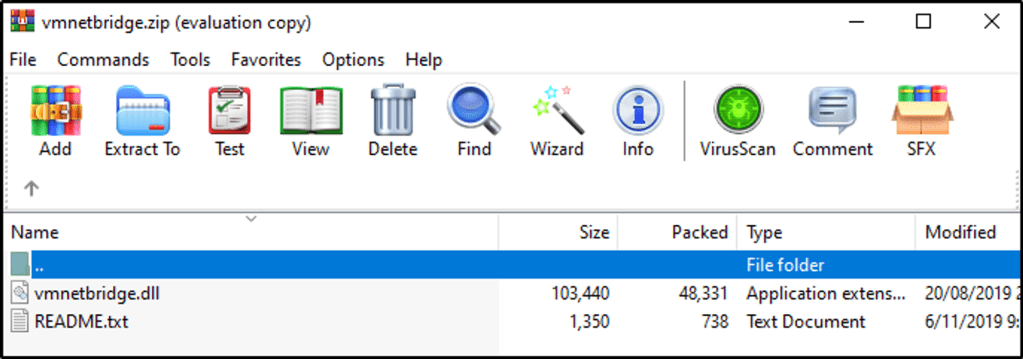
- Since the dll file was not located, I downloaded the dll library instead.
- Download vmnetbridge.dll. Refer here for installing the library.
- Extract the files to the folder where VMware is being installed.

- Select the dll library.


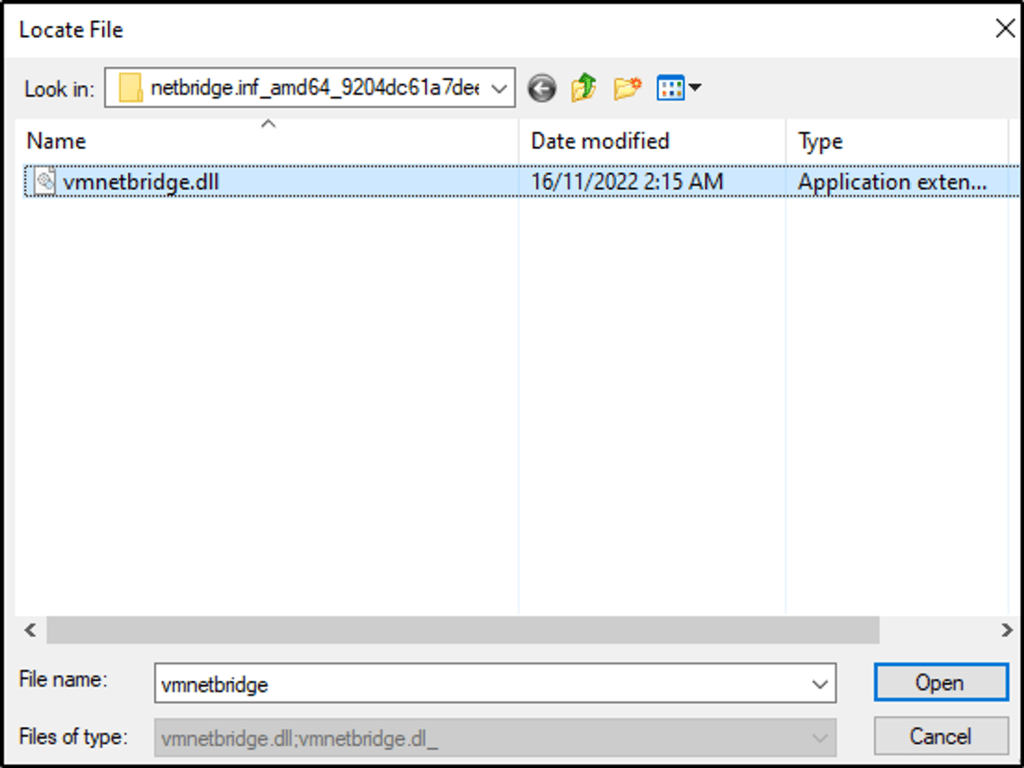
- The installation completed with the dll file.

- Select the trial version
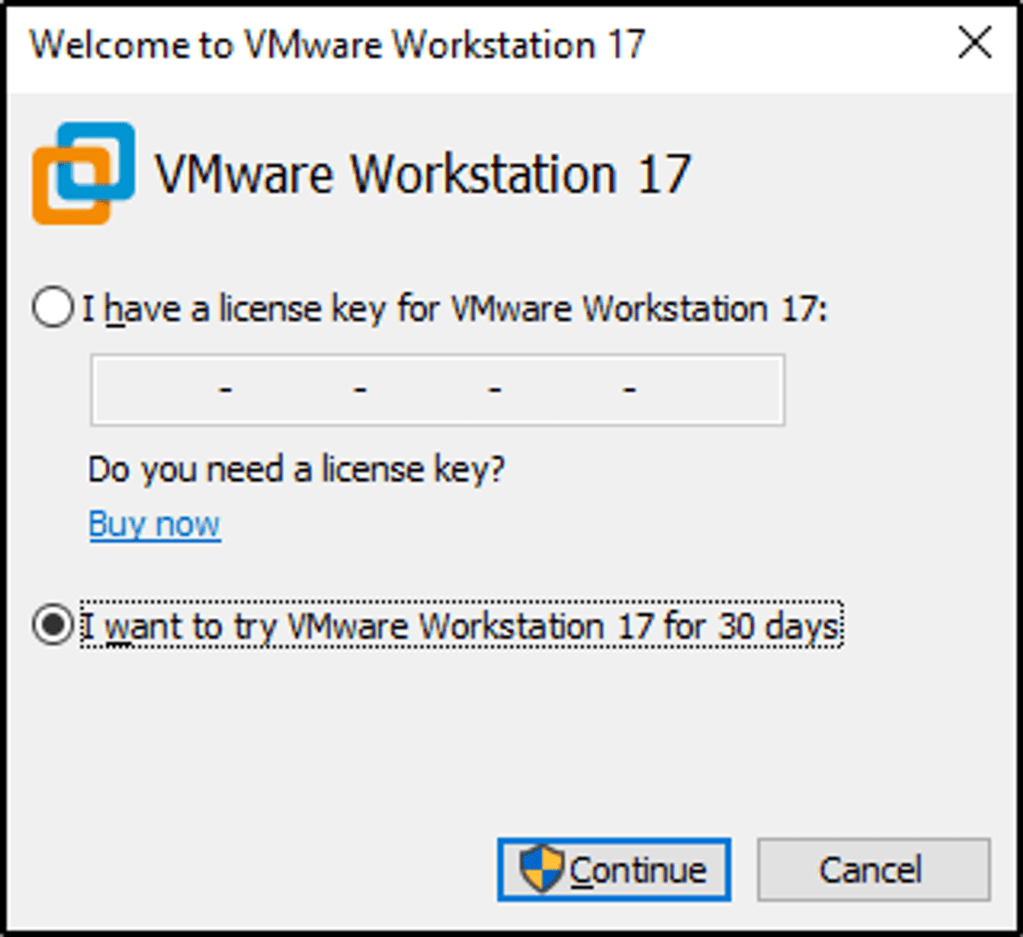

- VMware Pro is now installed.
Downloading, Installing, & Configuring Metasploitable2
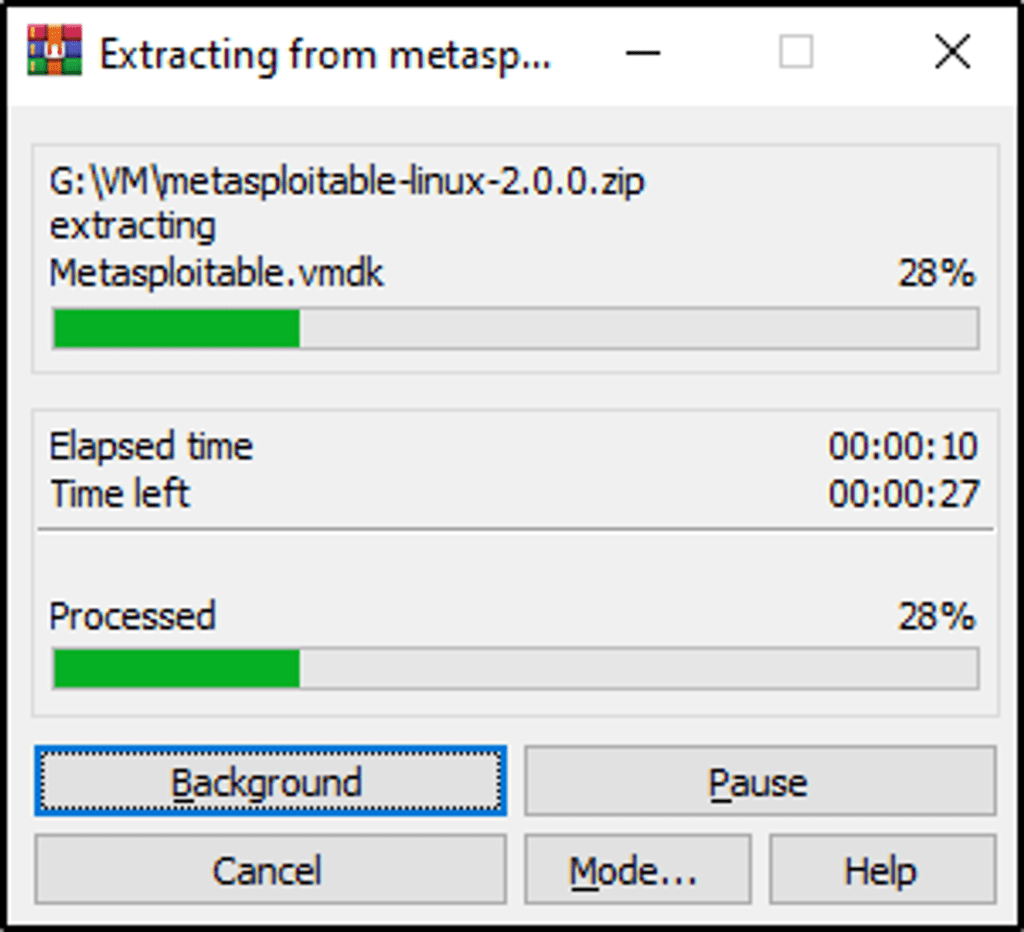
- Download Metasploitable2. Extract the zip file
- In VMware, click on “Open a Virtual Machine”

- Select the file and that’s it.

- A few things to configure. Edit the network setting so that it has only one adapter, that is “Host-only”
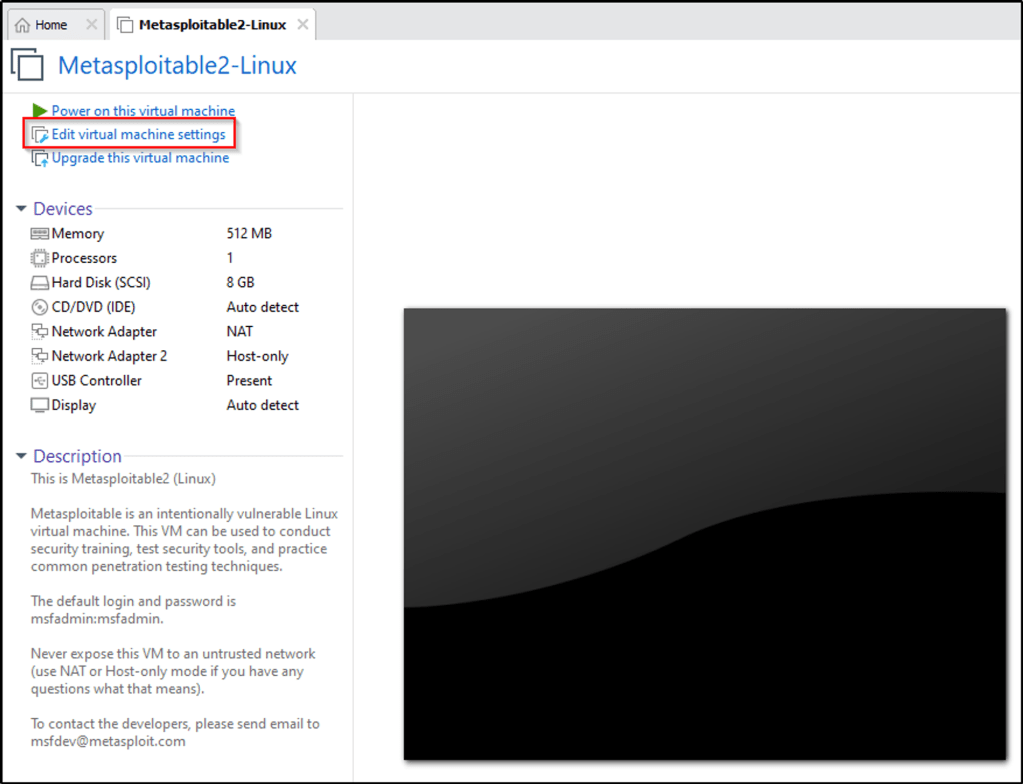
- Remove the “NAT” Network Adapter

- It now has one adapter.

- Log into the machine and determine its IP address.


- My Metasploitable2 IP address is 192.168.40.128/24.
Downloading, Installing, & Configuring Ubuntu Server
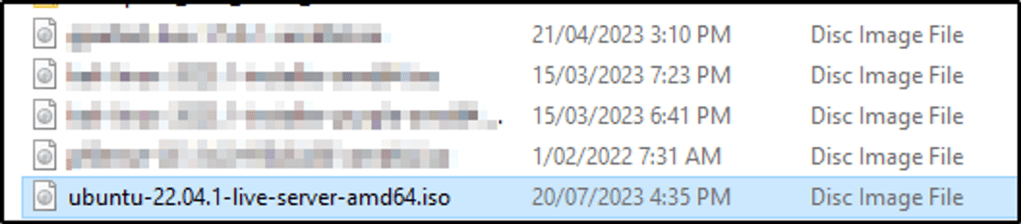
- Download the Ubuntu Server .iso image.
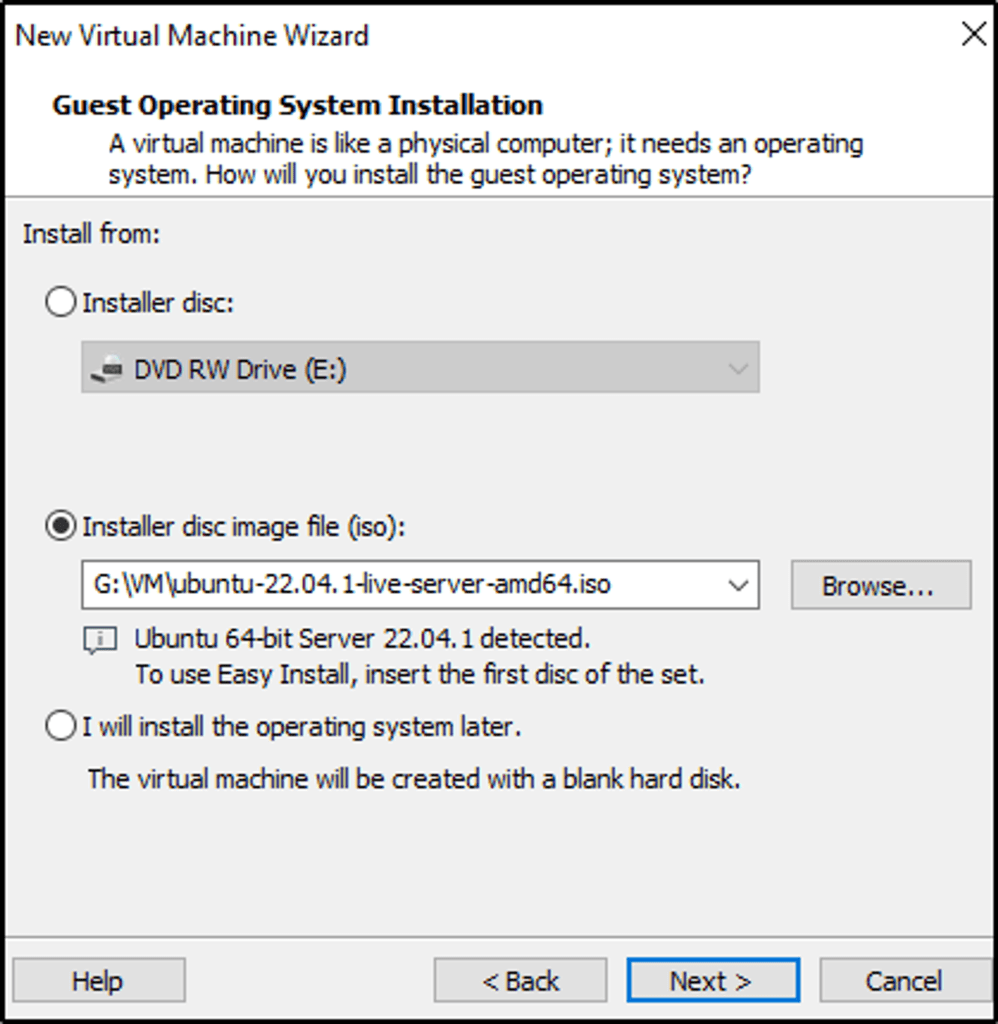
- I created a virual machine using the .iso image of Ubuntu Server.

- Select Typical configuration

- Locate the .iso image.
- Name the virtual machine

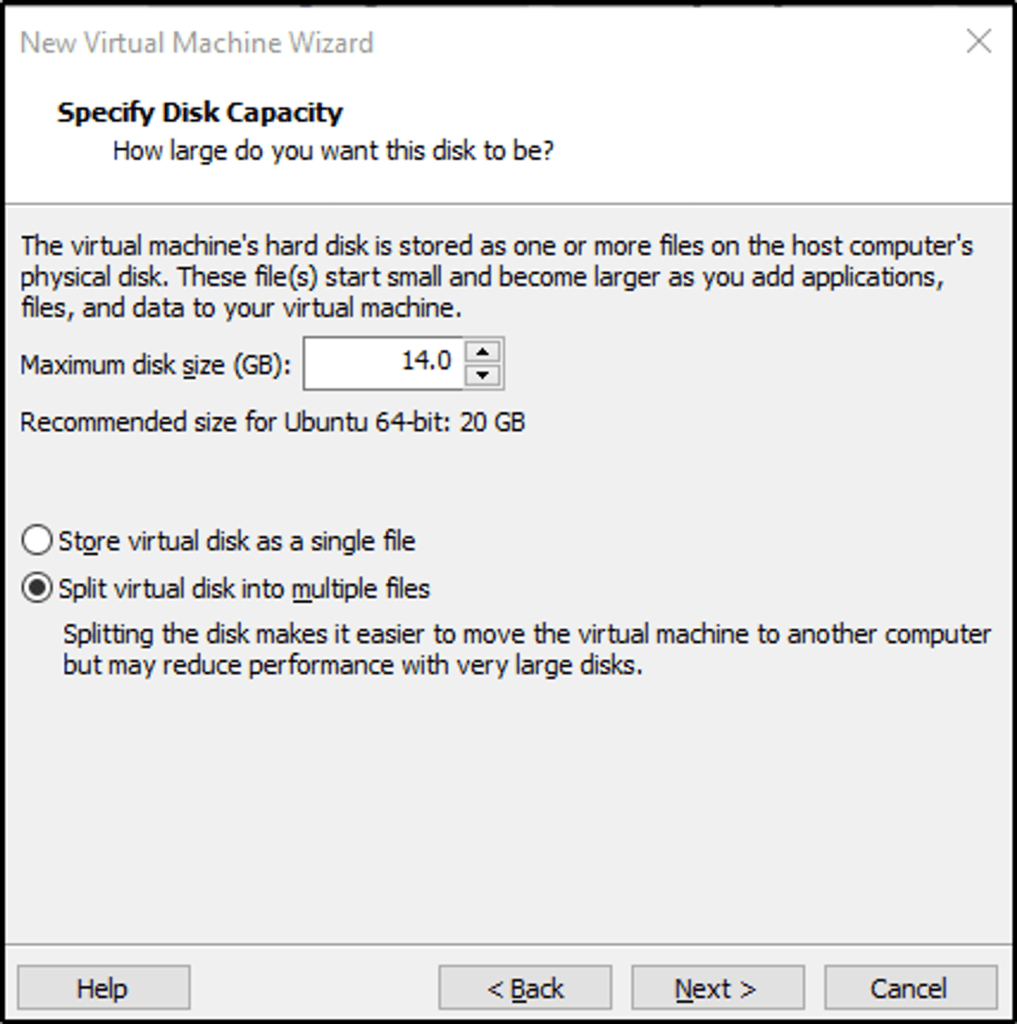
- At this stage, I forgot to increase the disk size. I increased my Ubuntu disk size later to about 80GB.
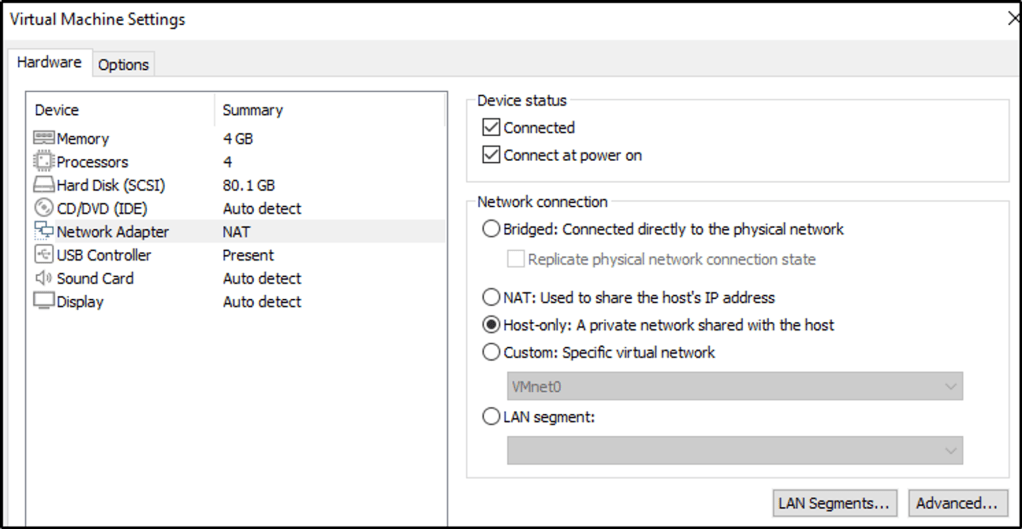
- For its network setting, I made sure Ubuntu has two adapters, NAT and Host-only adapters.
- Select “Customize Hardware” to add one more network adapter

- Set the second adapter to “Host-only” and then click on “Finish”. This will continue with the installation process.
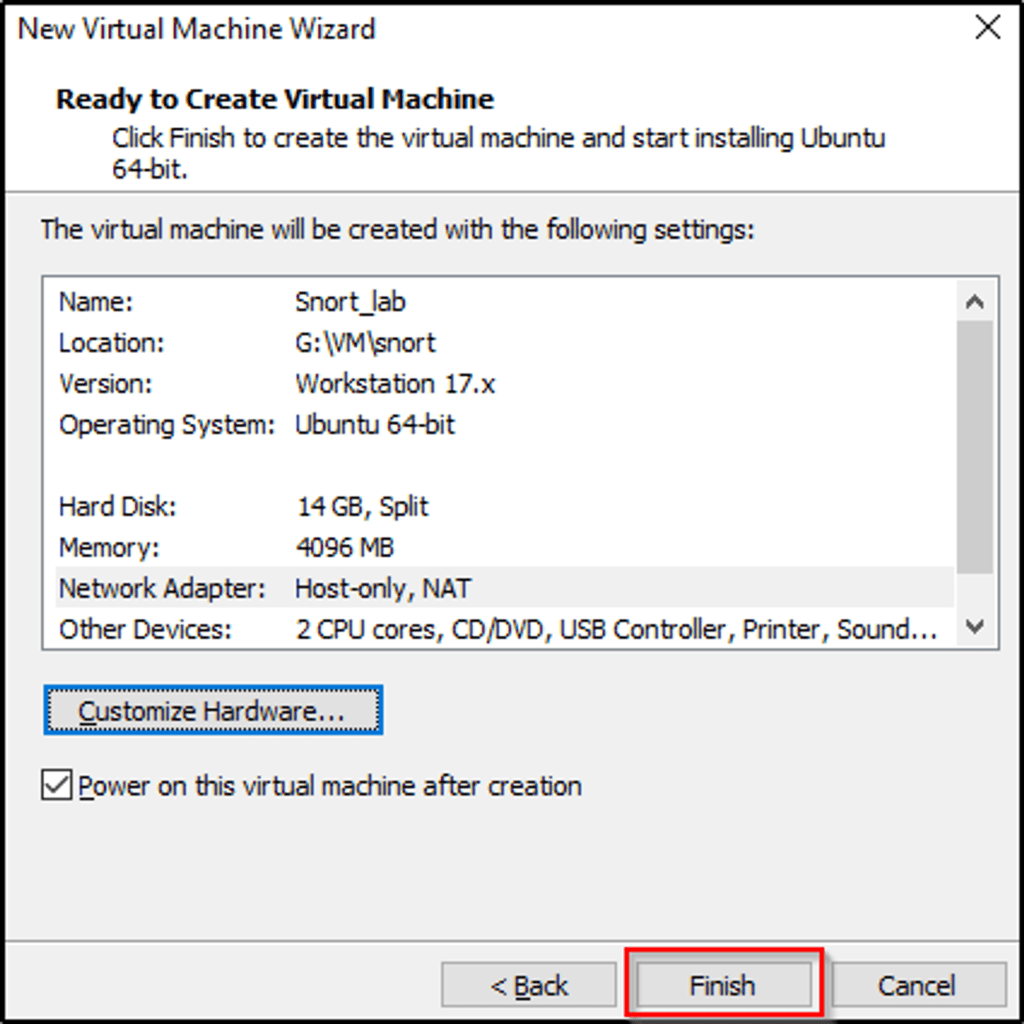
- Most of the configuration settings in the installation are default settings.
- I selected English as my language.

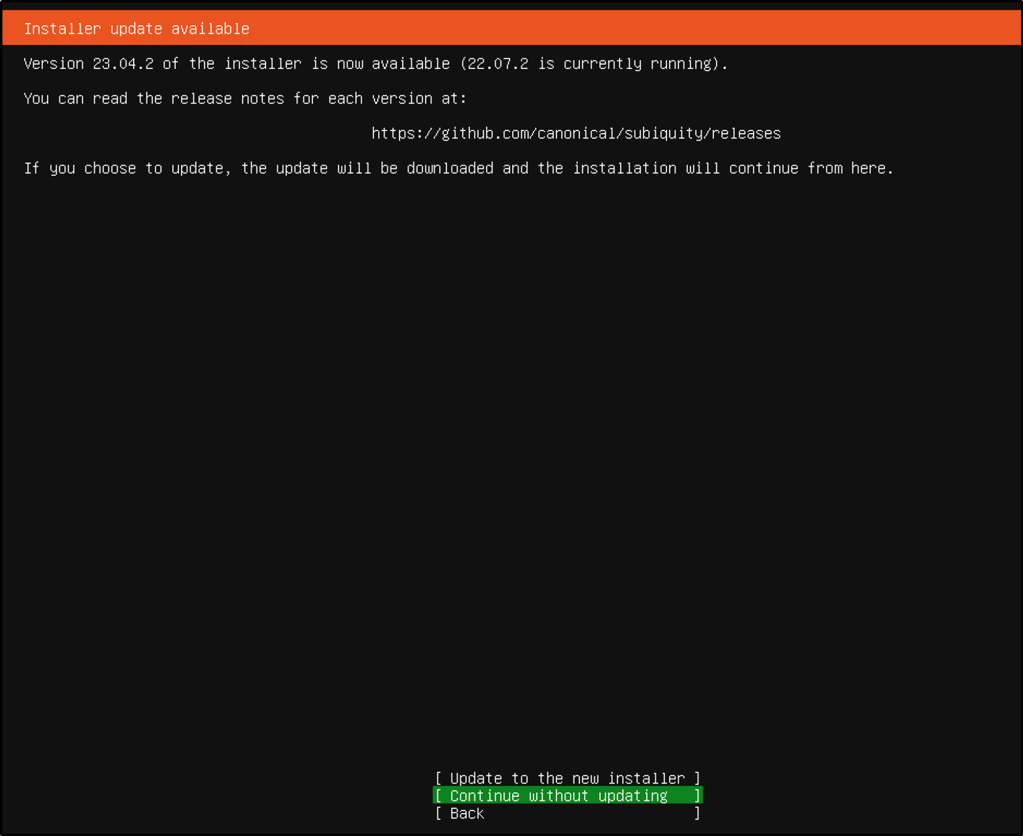
- Continue without updating
- Selected English for my keyboard layout and variant.

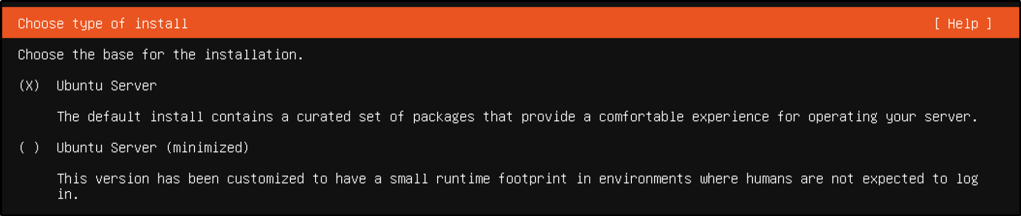
- Ubuntu Server was selected
- For its IP address, I chose DHCP to resolve the IP address.

- Nothing selected

- Default archive mirror

- Selected default settings
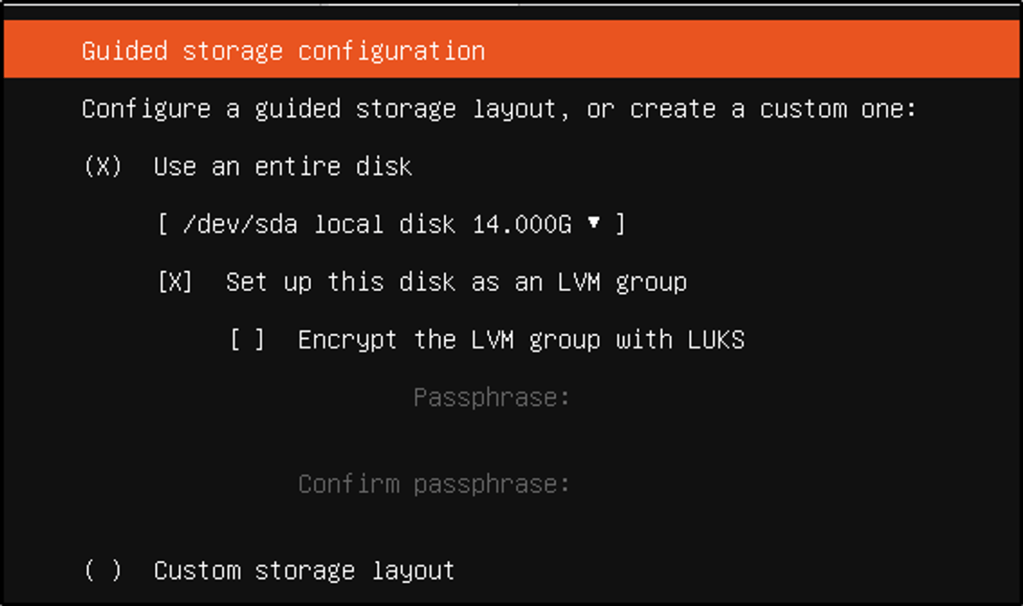
- Selected default storage settings

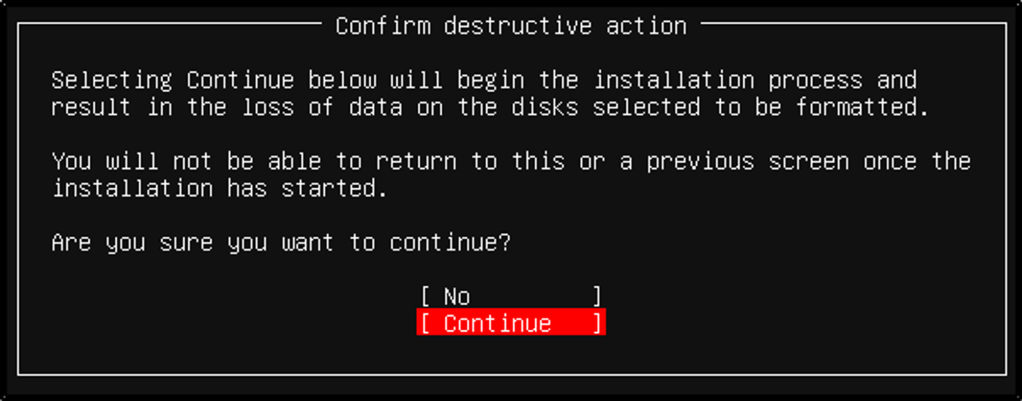
- Select “Continue” to proceed.
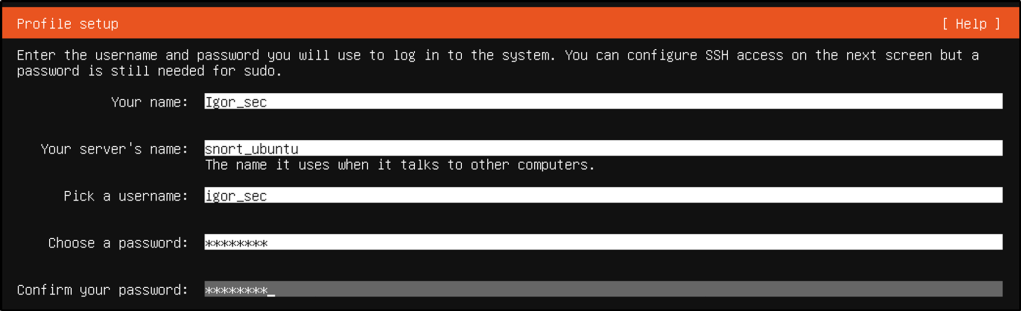
- Set a username and password for this machine
- Optional, I just wanted to add powershell

- Installing

- Reboot the machine

Installing a GUI
- I learned later that Ubuntu Server does not come installed with a User Interface. I installed a GUI so I can use wireshark or other tools to analyze the captured traffic.
- Reference for installing a GUI.
Step 1: Update the System
Update the system to the latest packages.
sudo apt update -y && sudo apt upgrade -yStep 2: Install the Desktop Environment
GNOME is the default desktop environment for Ubuntu which I chose to install
sudo apt install ubuntu-desktop -y
Step 3: Install the Display Manager
I installed GDM, which is the default display manager for GNOME.
sudo apt install gdm3 -y
Step 4: Enable the Display Manager
After installing GDM, it needs to be started automatically at boot time.
sudo systemctl enable gdm
Step 5: Reboot the System
I restarted Ubuntu to start the GUI.
sudo reboot
A login screen is presented when the system boots.

Ubuntu Server on promiscuous mode
This is a setting that allows Ubuntu Server to intercept and read each network packets regardless whether they are intended for this machine or not. This enables Snort to capture the traffic directed towards Metasploitable2.
Start a terminal and get the machine’s IP address.
My Ubuntu Server has “192.168.40.129” as its IP address for interface “ens34”. This IP is within the same subnet with Metasploitable2. So this is the interface that will be listening to traffics flowing into Metasploitable2.
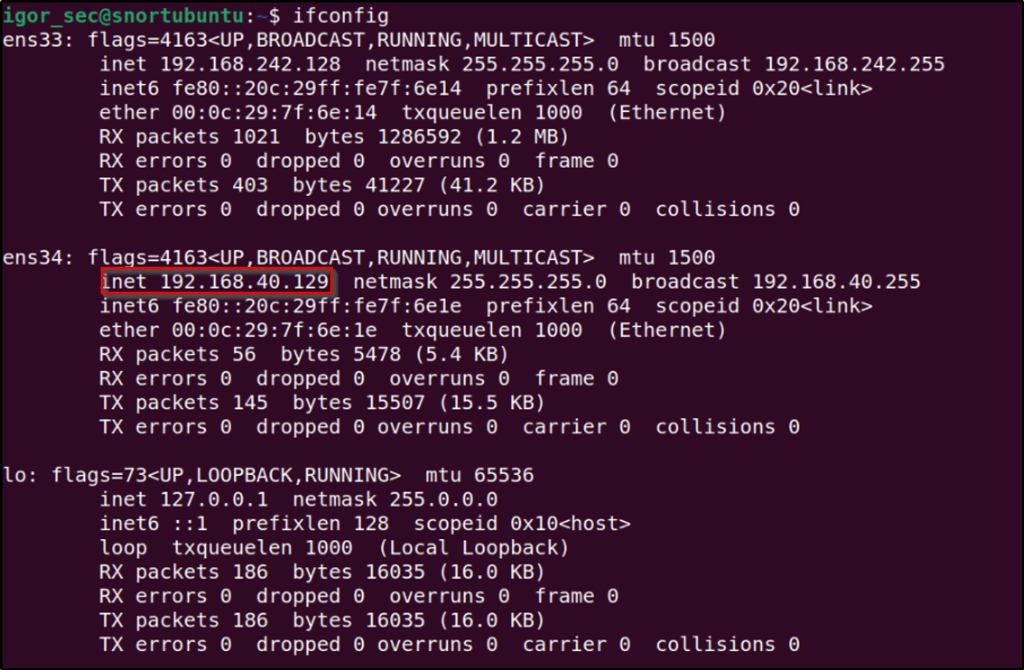
The first command is to set interface “ens34” into promiscuous mode. Following that command is to verify if it is running on promiscuous mode.
sudo ip link set ens34 promisc on

ip add sh
It is now running on promiscuous mode. That completes the steps in downloading, installing, and configuring Ubuntu into promiscuous mode.
Downloading, Installing, & Configuring the Attack Machine – Kali
- Download Kali Linux
- I utilized a pre-built virtual Kali machine.
- Select “Open a Virtual Machine”.

- Select the pre-built Kali machine

- I set Kali’s network adapter to “Host-only.


- The installation is straight-forward.
- Its IP address as seen below, though with a different interface name, is within the same subnet with the other two machines.

I will be probably using this as a guide in creating more home labs for different purposes or maybe build on top of it.
In summary,
Metasploitable2
- Host-only adapter
- IP address = 192.168.40.128
Ubuntu Server
- NAT and Host-only adapter
- IP address = 192.168.40.129
- Set Promiscuous on
- Intercepting interface = ens34
Kali Linux
- Host-only adapter
- IP address == 192.168.40.130
DHCP server to resolve IP addresses

Leave a comment